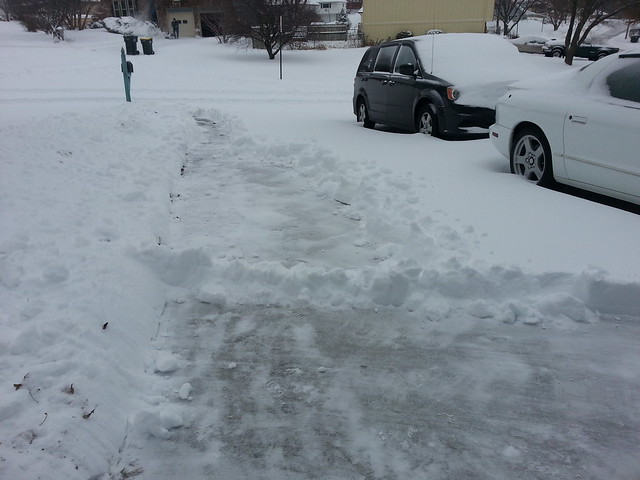
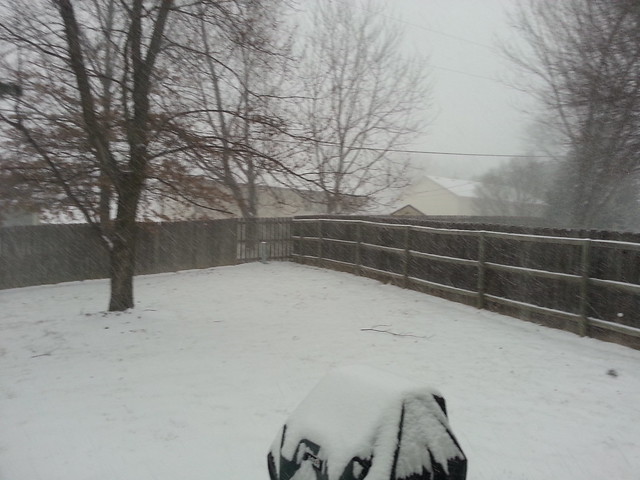
 I didn’t get quite as much done domestically as I’d hoped yesterday during my ‘snow day‘ home courtesy of Winter Storm Q. I should have been baking bread all day long. Instead, I ended up working from home for the first half of the day and then working like a dog outside my home shoveling the ten or so inches of snow off of my driveway and onto my front yard.
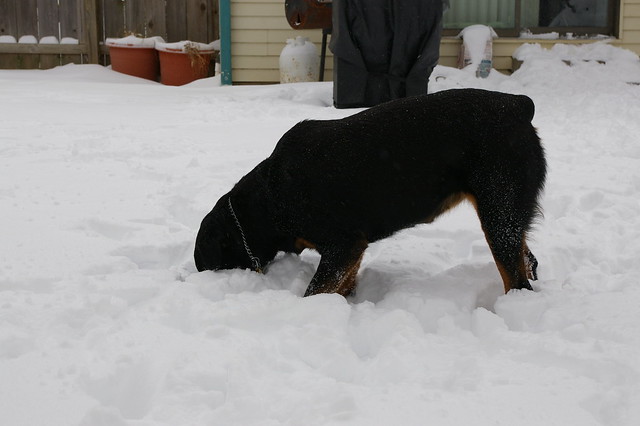
Speaking of dogs, Apollo and Lexy had fun chasing each other through the back yard snow drifts and digging for dog treats that Terry tossed from the patio door out into the snow. Lexy was bound and determined to find every last one:
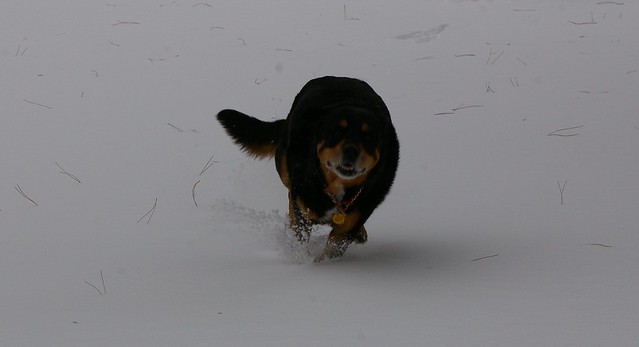
Apollo preferred to charge through the snow at top speed. He bowled Lexy over at least once. Here he is returning to me at a dead run:
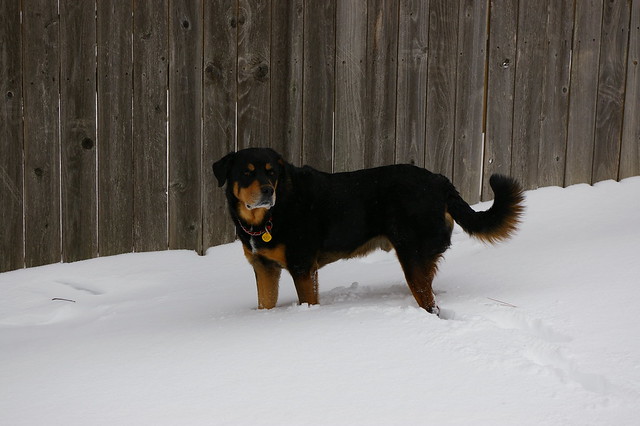
Here he is standing more or less still, breaking new ground through the snow soon after I let them out for the first time:
But Lexy was the cutest for the camera yesterday:
 Early Thursday morning, before anyone was up yet, including Apollo and Lexy, I set out the frozen remains of our last chicken pot pie extravaganza to thaw. I went searching for the pastry crust recipe I usually use but instead I reached for my favorite baking cookbook, the King Arthur Flour 200th Anniversary one (pictured at right). I began reading through their ‘pastry primer’ section and found a simple recipe that sounded like a good fit for what I wanted to do around lunch time. I’ll have to update this post later with the exact page number and title of the recipe, but here are the ingredients and instructions (from memory):
- 2 1/2 cups King Arthur All-Purpose Flour
- 1/2 cups King Arthur White Whole Wheat Flour
- 1 tsp salt
- 1/2 cup vegetable shortening (aka Crisco)
- 1/2 cup (or 1 stick) butter
- 1/2 cup buttermilk
Combine the dry ingredients in a bowl. Cut in the shortening (I used my handy-dandy pastry cutter) until crumbly. Cut in the butter (again using the pastry cutter) until the pieces are the size of peas. Pour in the buttermilk and quickly mix it in.
I covered my countertop with a couple of sheets of plastic wrap. I divided the dough in two and folded the resulting piles into a mostly coherent lump. Then I folded the plastic wrap over it, pressing it into a squarish-lump. I repeated this for the second pile of pastry. Then I placed the wrapped dough in the refrigerator for a minimum of thirty minutes.
Around lunch time, I preheated the oven to 375 degrees and used some mini-loaf pans to put the chicken pot pie filling and gravy into. I took one of the dough packages out of the fridge and rolled it out. I used a spare mini-loaf pan as a template to get the right size for the pastry crust top. I should have used an egg white wash as glue, but I didn’t want to waste an egg, so I just pinched the edges of the crust to the pans. I used a knife to cut some slits in the top. For my husband’s pie, I cut out an extra bit of crust to form a “T” for his name (Terry). I placed the pans on a baking sheet and baked them for 30-40 minutes.
I pulled them out of the oven and let them cool for 5-10 minutes. When I pushed my spoon through the crust on my pie, I could tell immediately that I had a winner. Very flaky crust! And the filling wasn’t bad either. The perfect lunch while we hunkered down to wait out Winter Storm Q. My helping kept me warm while I shoveled the driveway clear after lunch.
Now I just have to figure out what to do with the other half of the pastry dough. I’m fresh out of chicken pot pie filling.

